Blog #5
Team: “Veggie Sticks”
Project Updates
The final phase of the project has begun! After the successful testing last week with placement of the turbidity sensors, we went ahead and bought “Mr. Sticky” which is an incredibly STICKY glue that can cure underwater if necessary. Holes were cut in the barrel and the turbidity sensors were tacked into place. The challenge was to make sure the adhesive did not cover the tips of the sensors, which would create false readings. Luckily we had a team member crawl into the barrel to clean off any excess glue that may have made its way onto the tips of the sensors. A picture of this fun moment can be seen below.
Next we needed to make sure that the newly sealed holes were not going to leak, so we filled the barrel to the top and let it sit out for a few days in the outside work-space of the engineering building. IT WAS A SUCCESS! No leaks, and the sensors fit nice and snug in the barrel. Below is a picture of the barrel filled up. The water on the ground was from testing the flushing system, not from leaks.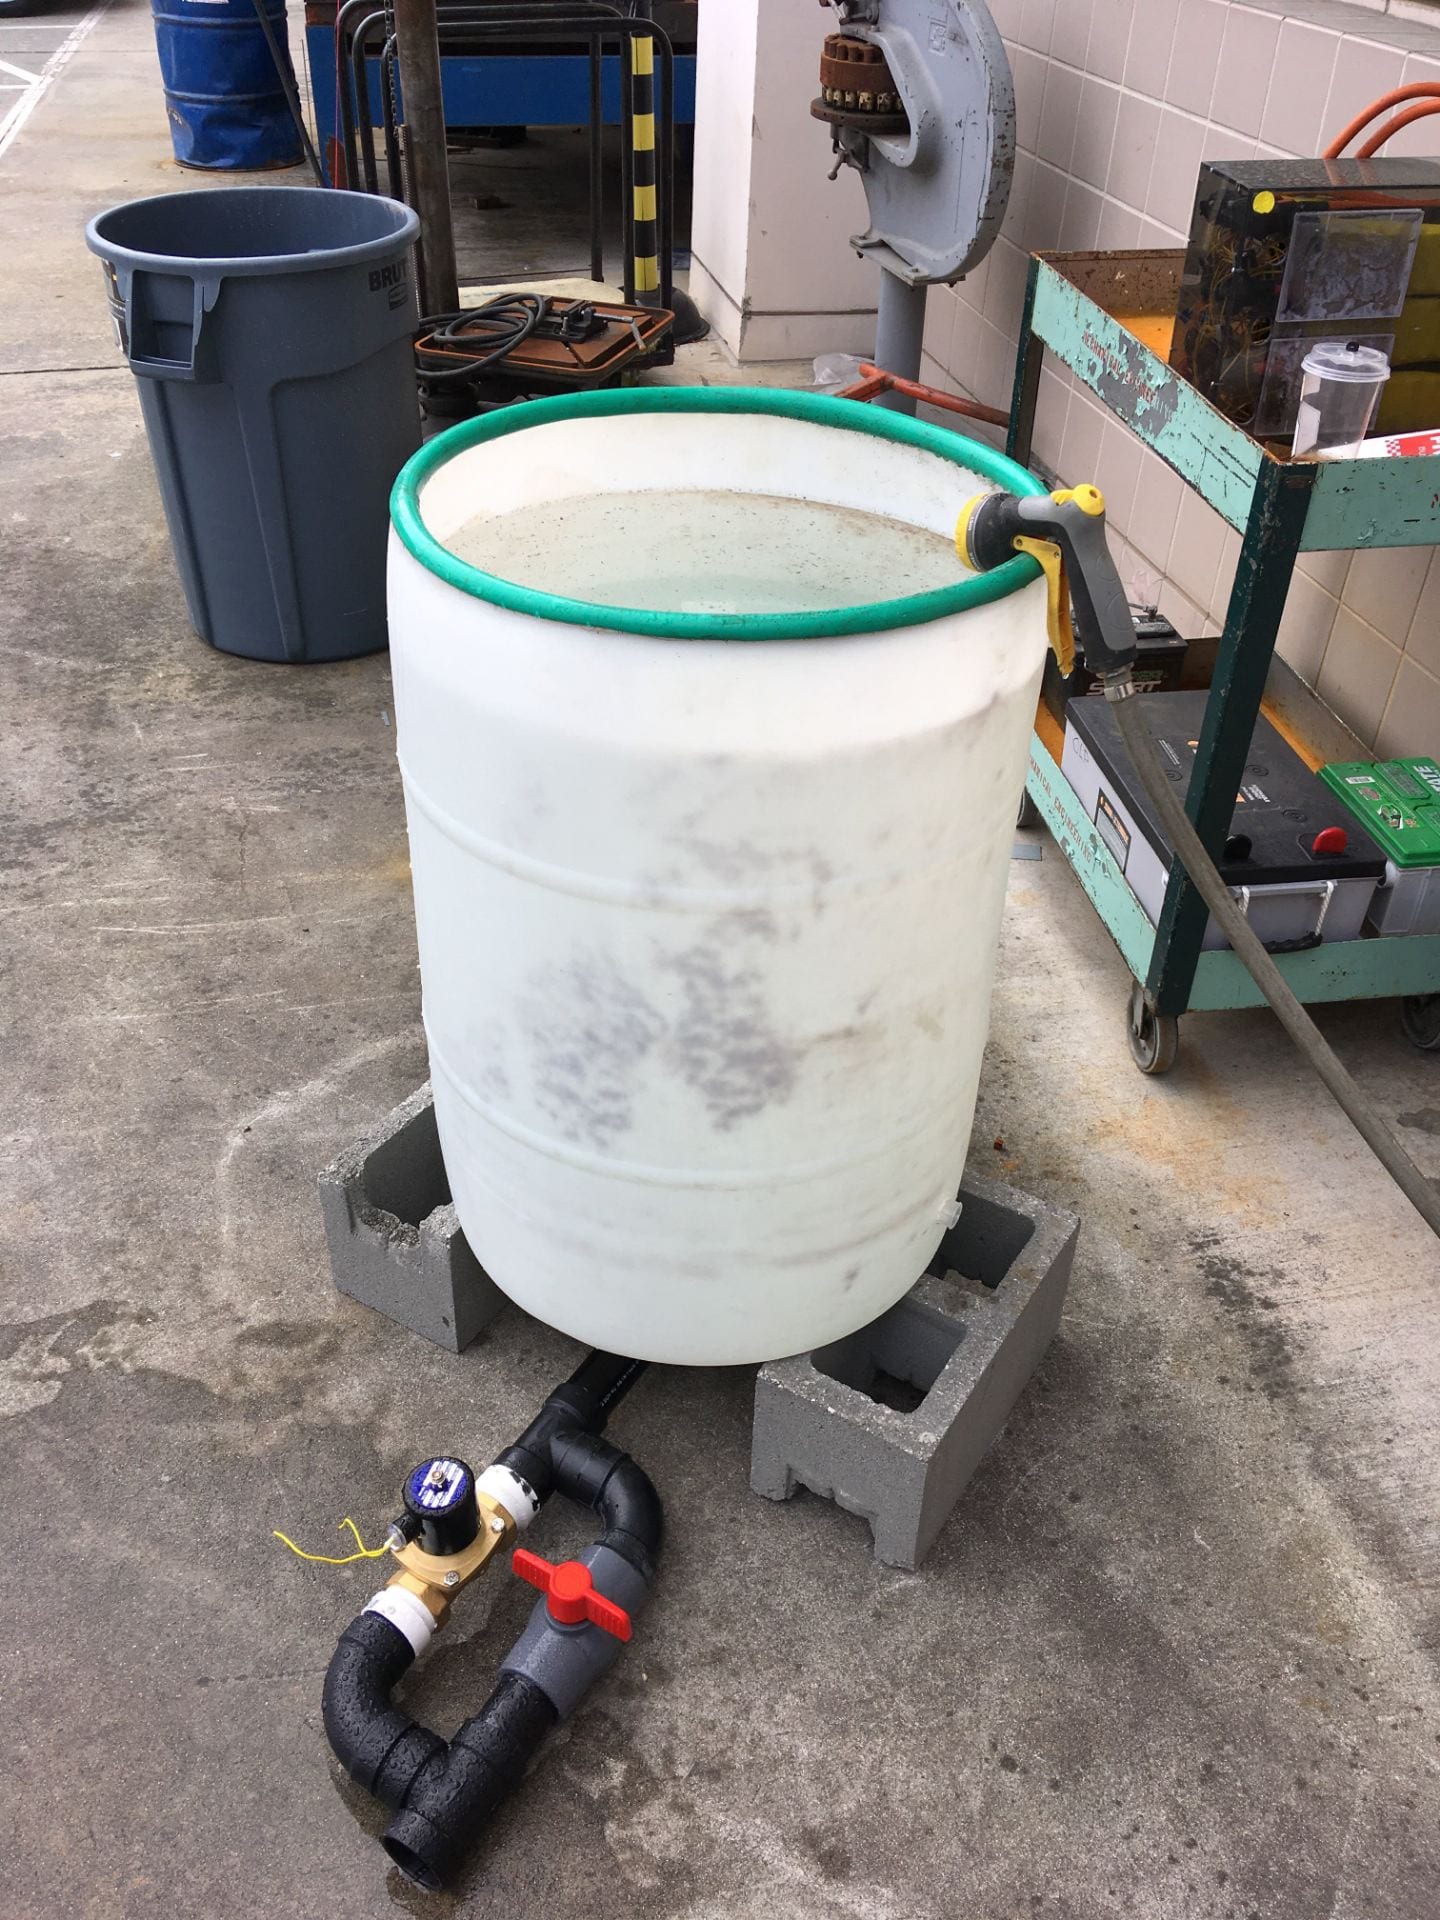
The next test was to determine the readings of the sensors with clean water, and contaminated water. The dirty (fish waste) water was just coffee grounds, but as mentioned in a previous blog, this mimics the fish waste almost identically. The readings are on a scale of 0-5, 5 being the most clear. The clear water read 4.8, and the “dirty” water read 1.4. . These values are what we expected, however when the coffee grounds were settling there was a lot of fluctuation of the values. Once settled the value remained at 1.4. This is something that needs to be accounted for in the code, we plan to add a timer that will only actuate the valve if the turbidity reading is below 2.0 for more than X amount of time. This value has yet to be determined. Below are pictures of the testing.

Turbidity Testing
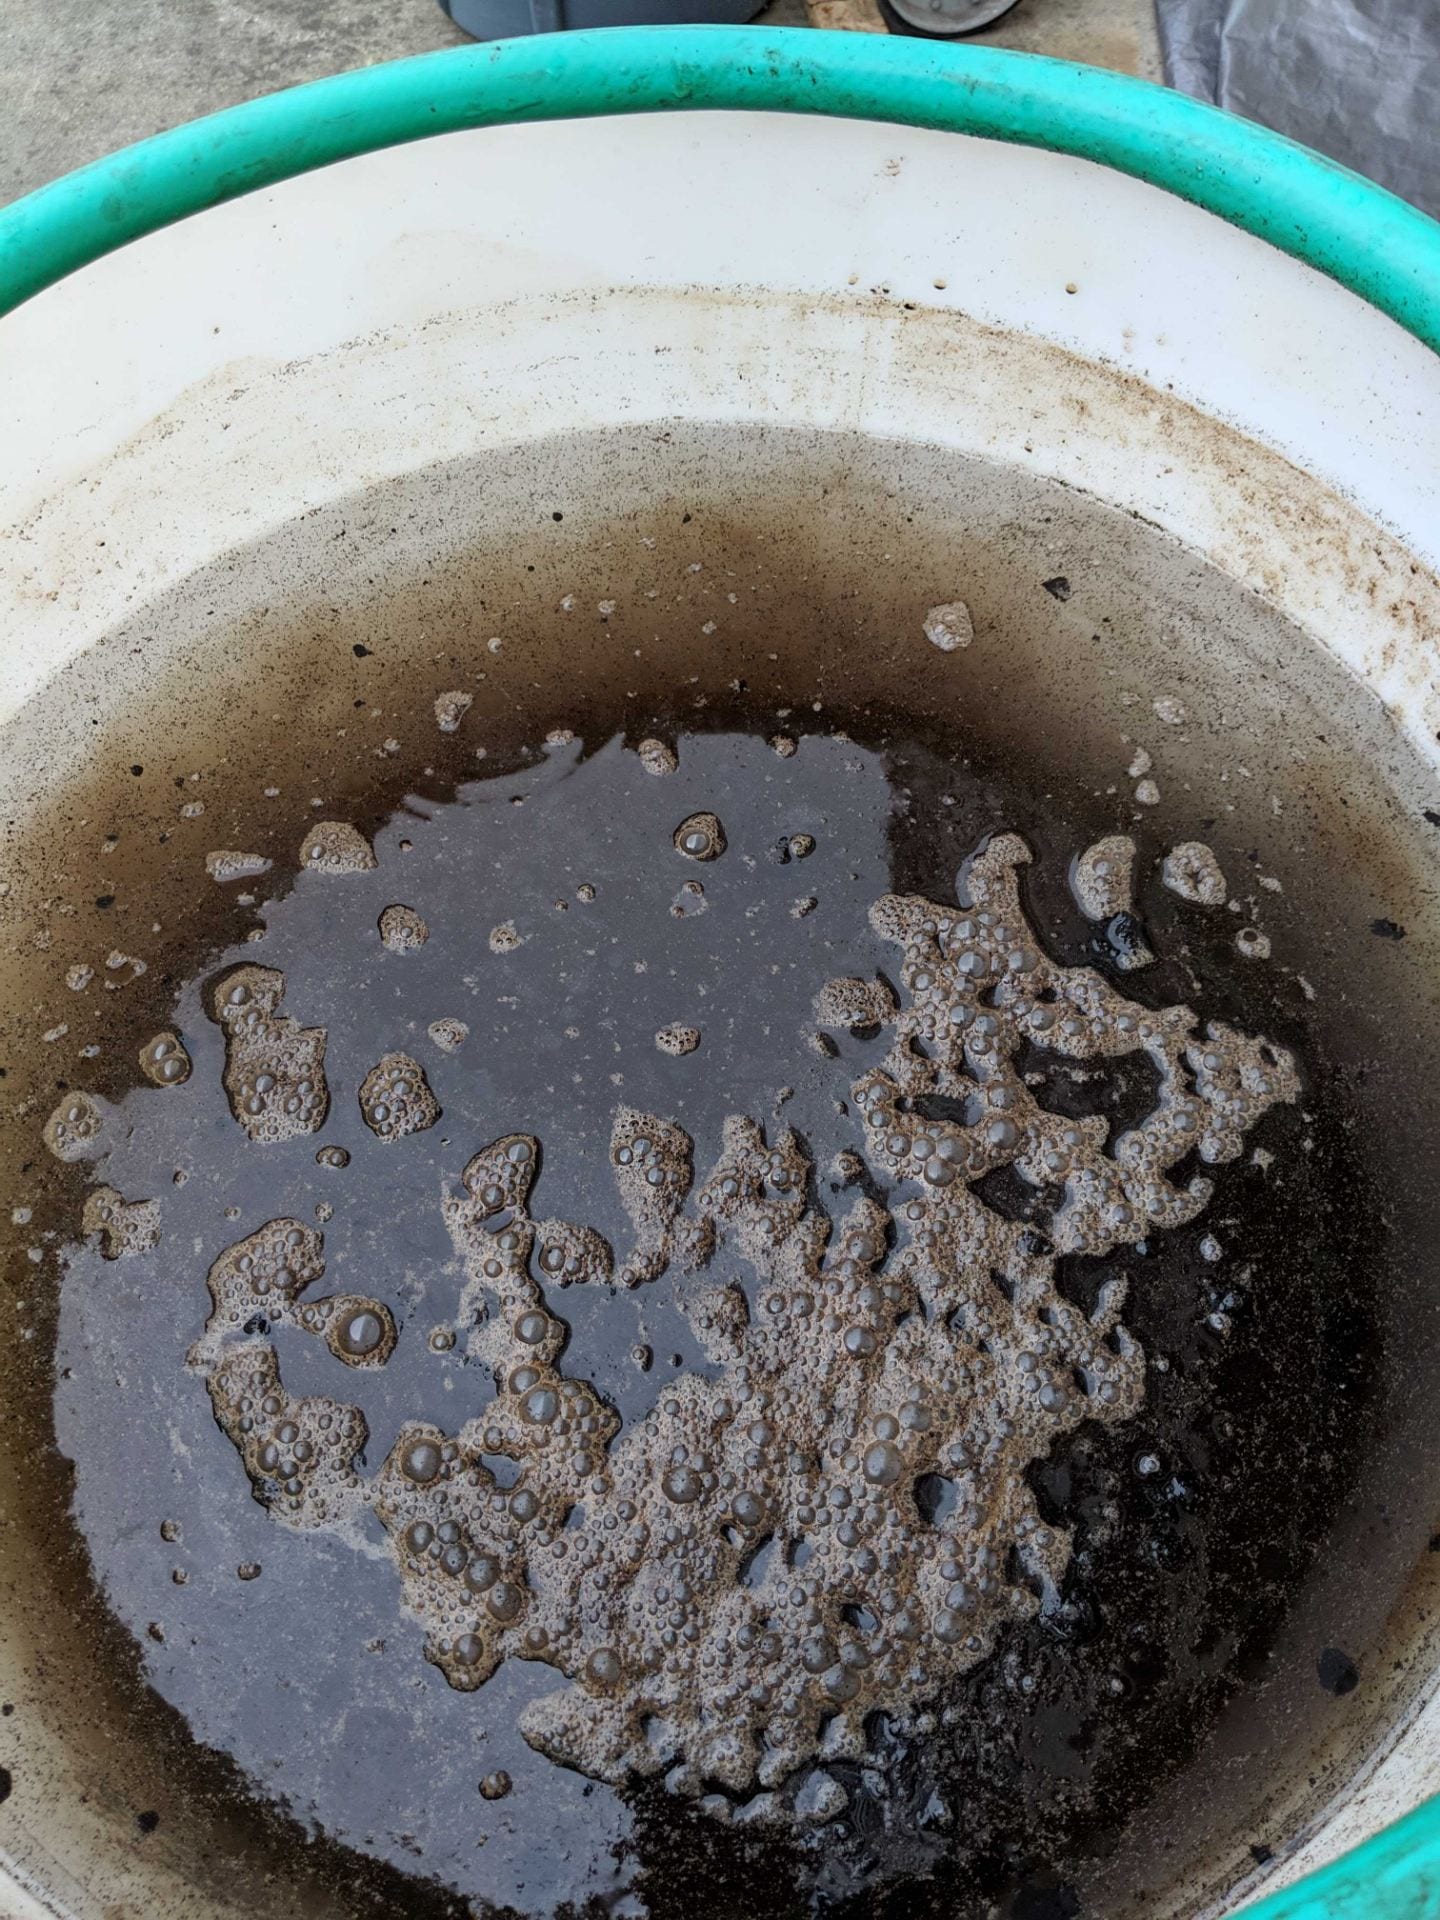
Coffee grounds used to mimic fish waste.
We went on one last visit to the garden to take a couple more measurements and determine the placement of the barrel. We decided the place the barrel at a position that is lower than the current one, which will reduce the pump head and in return will increase the efficiency of the system. Below is a picture of where the barrel will go.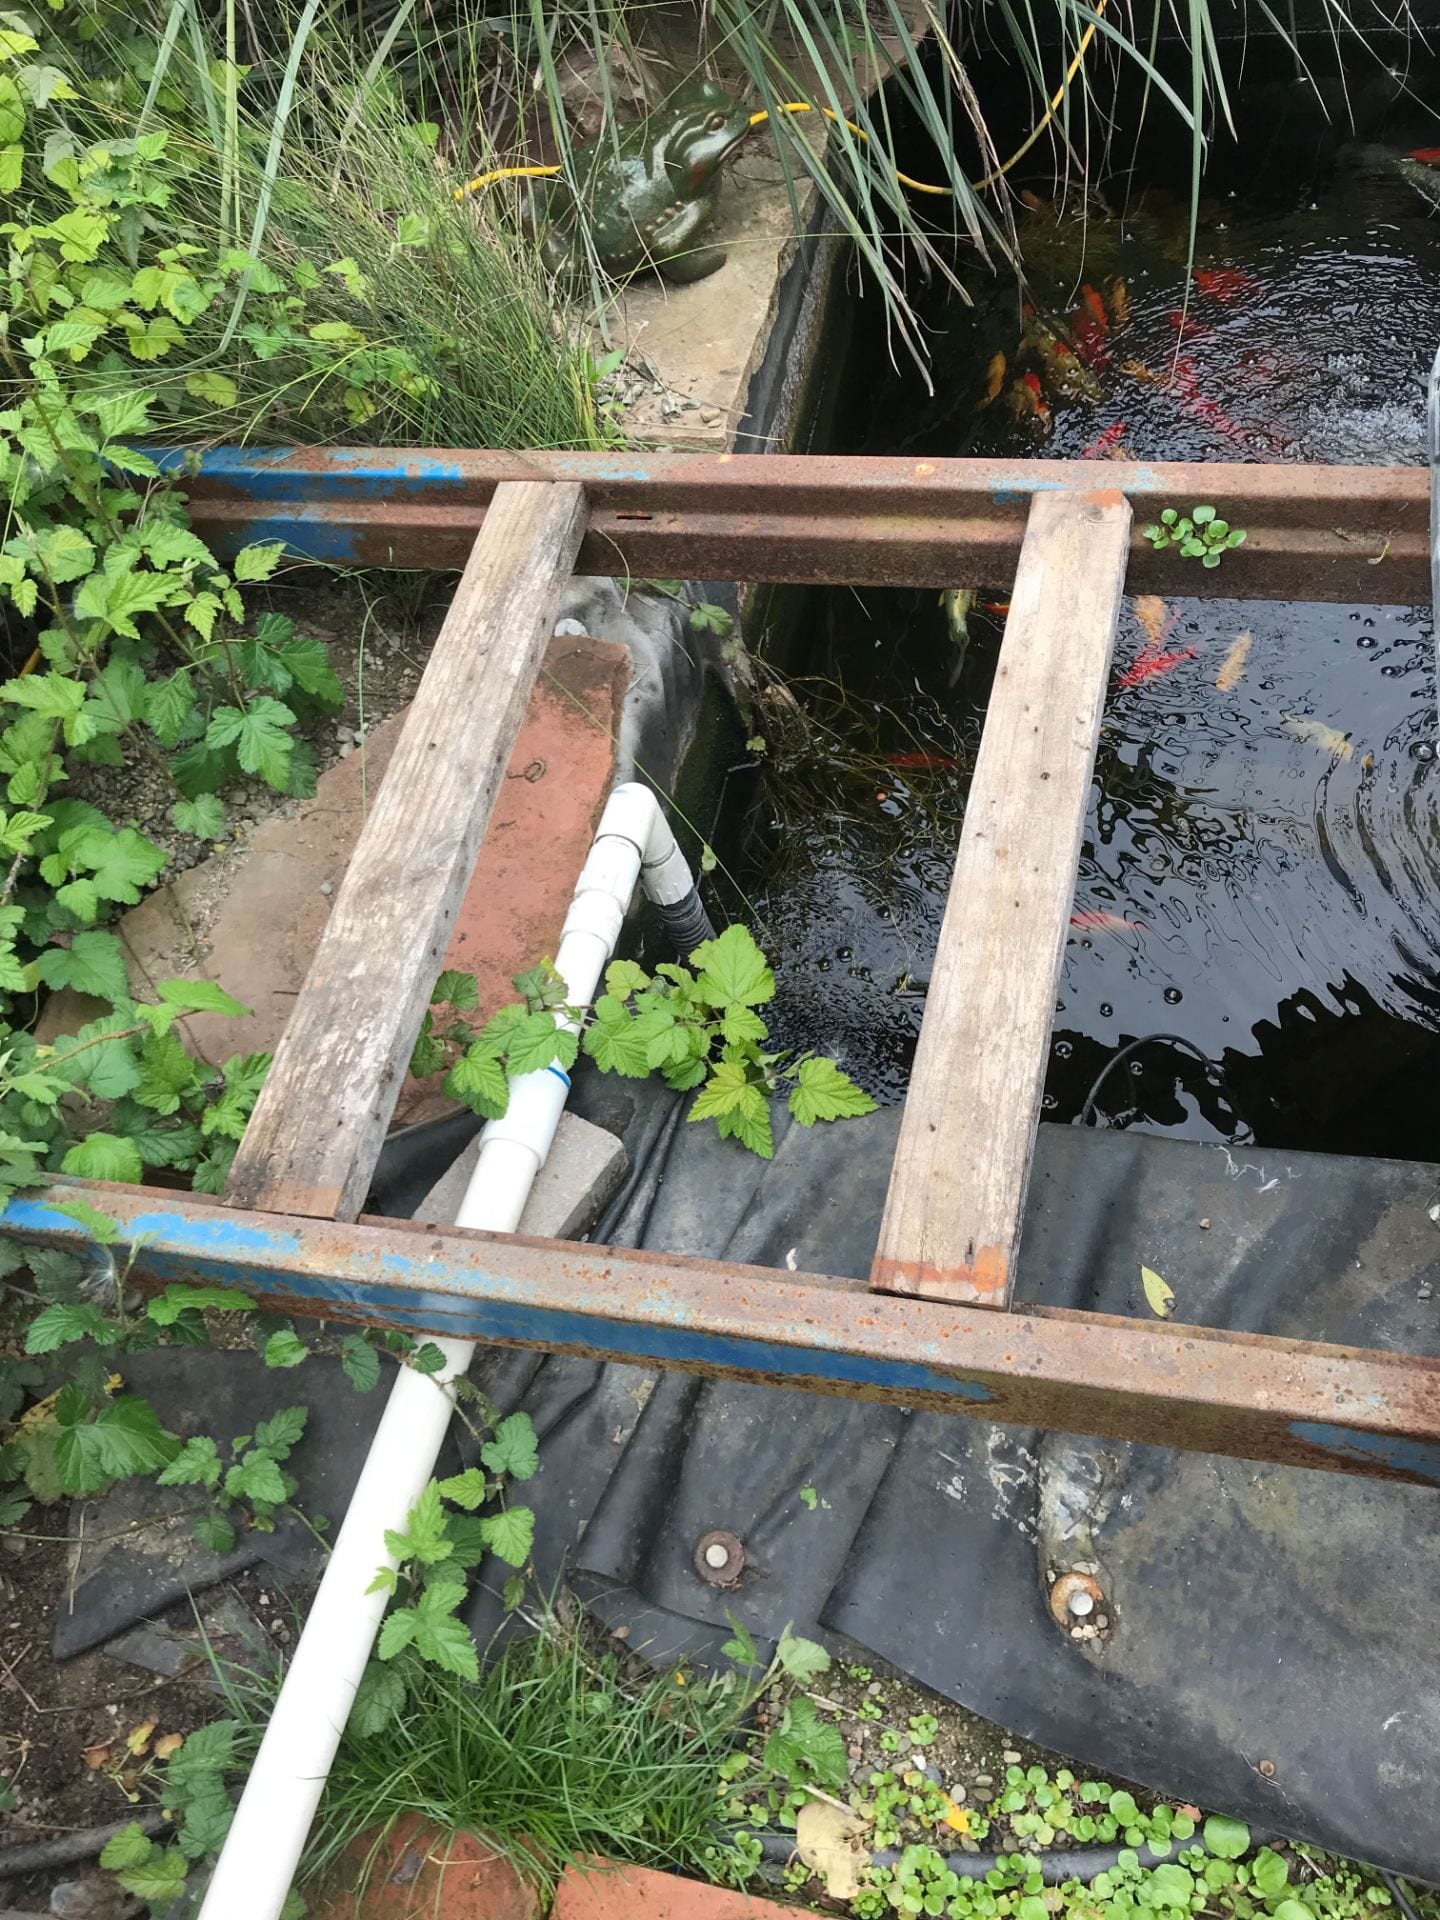
Next Steps
Finalize the installation at the garden by connecting the tank to the pond, plant beds, and biogas unit. Make sure the system still runs correctly (we are changing the height of the barrel so there may need to be some edits to the system). Complete the waterproof casing for the electronics. A box was ordered, but a hole will need to be drilled and the PCB board will need to be attached to the lid of the box for easy viewing. After these steps are completed we will make some interactive displays for the system that will help explain what we have installed!