Blog #4
Team: “Veggie Sticks”
Project Updates
Since our last post we met with our community partner, Alrie Middlebrook at Middlebrook Garden, and gave a presentation on what we had done and planned to do for this semester. We met with an engineer who specializes in aquaponics, and a koi specialist. Both of whom were very helpful and great knowledge banks!
After the meeting we got to work. Testing, testing, testing, and more TESTING!
Test one: Assemble the barrel with both valves (actuated valve, and manual back-up), and test for leaks. This is where we ran into the first problem. There was a small dripping leak from one of the manifolds underneath the barrel. This was only apparent after the tank was allowed to sit overnight, full of water. Luckily, this was fixed by tightening the valve, and boom! No more leaks! Below is a picture of the valve assembly.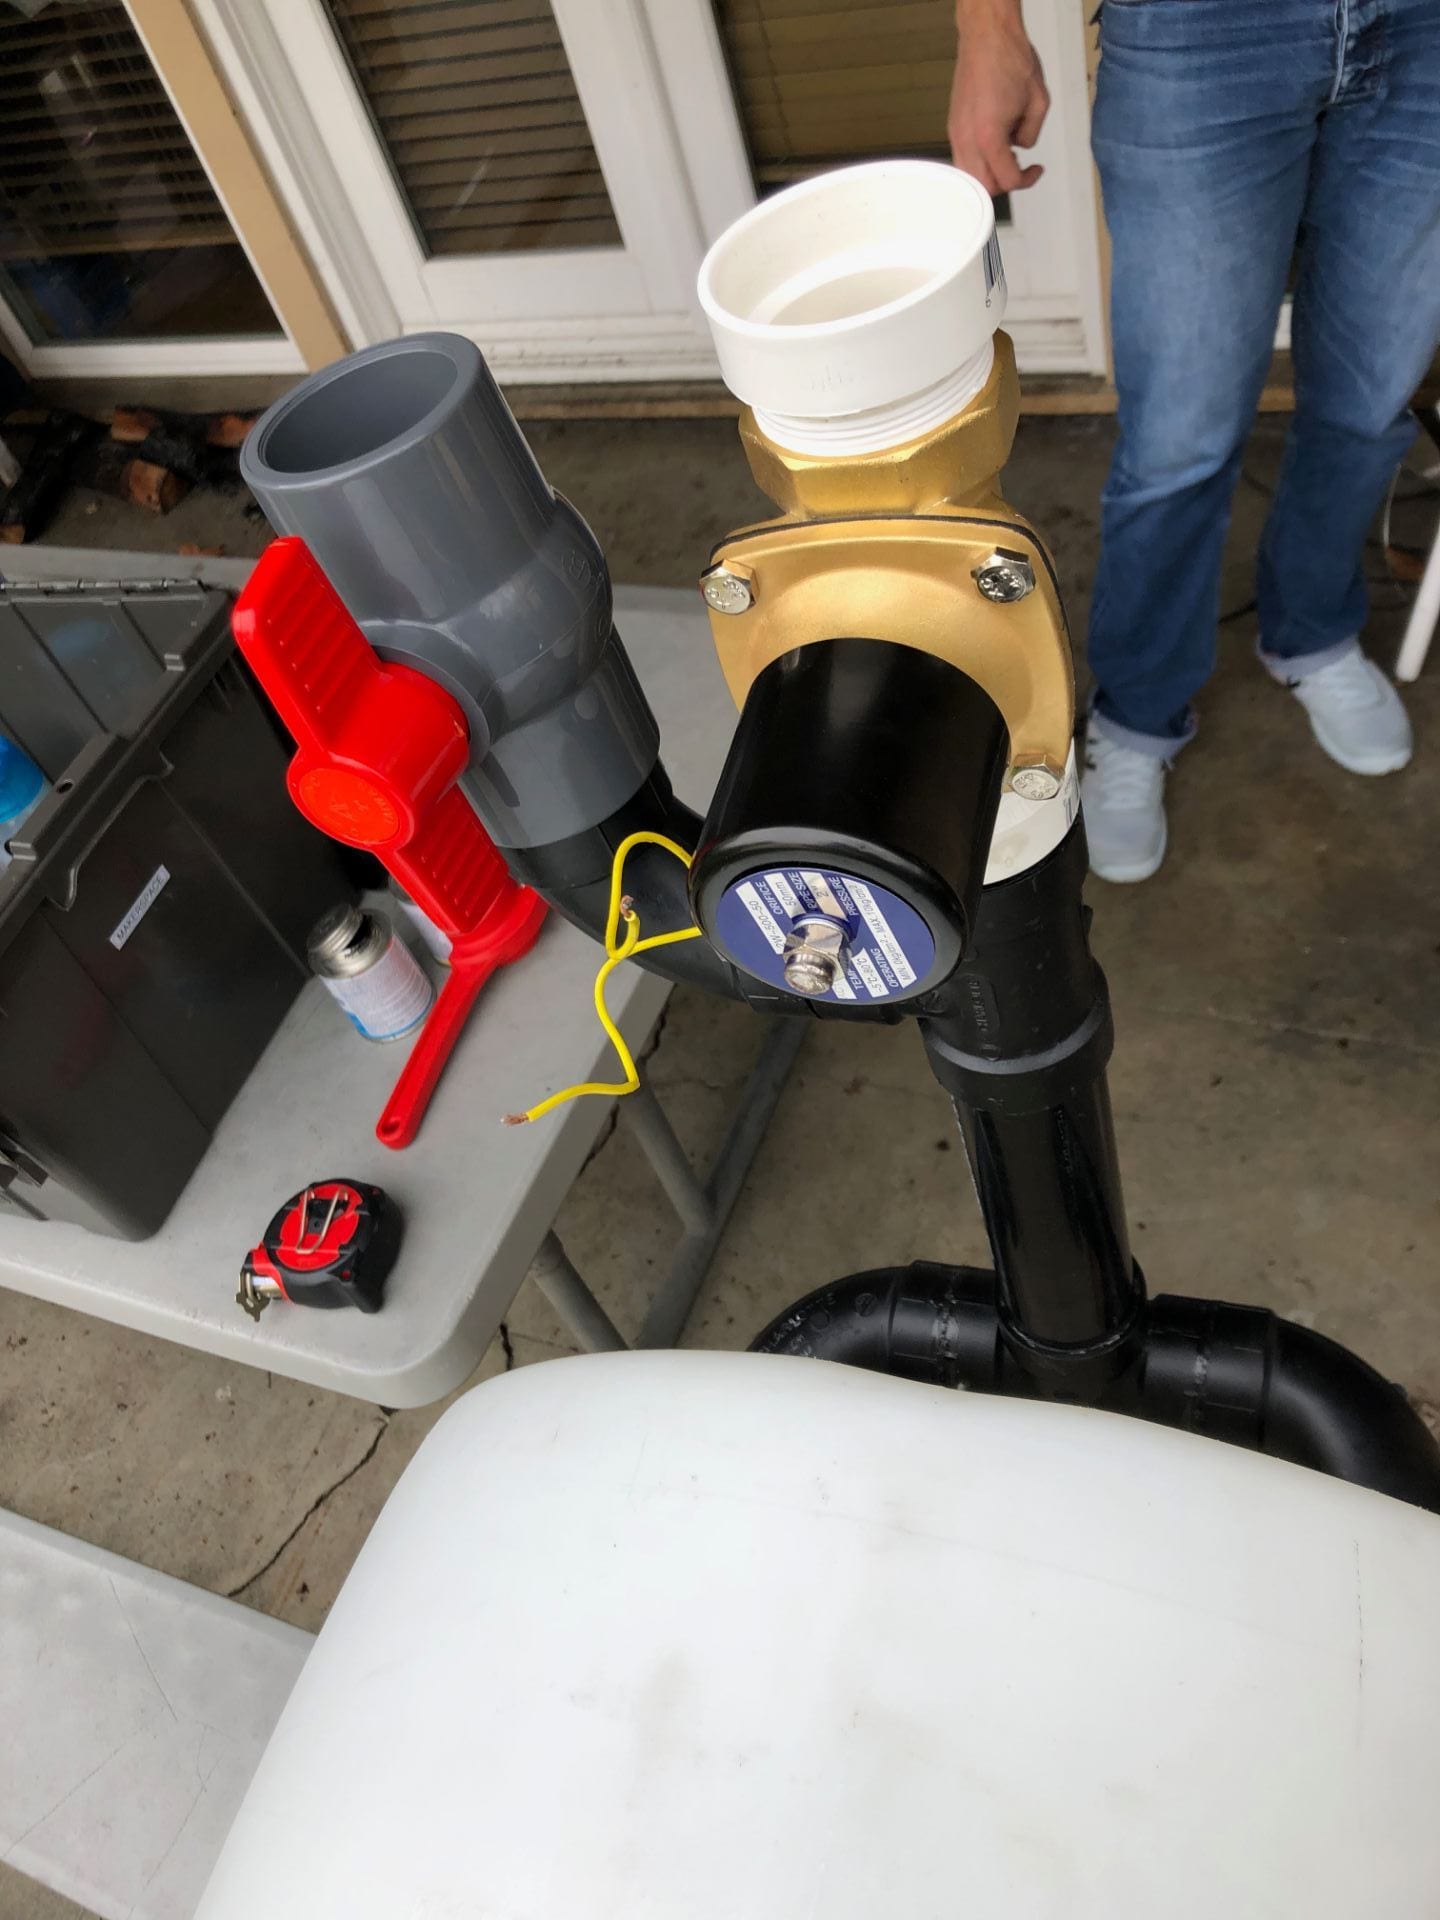
Test two: PCB and actuated valve configuration. We wired everything up and tested the valve, and it all worked smoothly! If one turbidity sensor was blocked while the other was left uncovered, the valve stayed closed. Once both sensors were covered the valve opened, just as planned! The picture below shows the PCB connection with the valve.
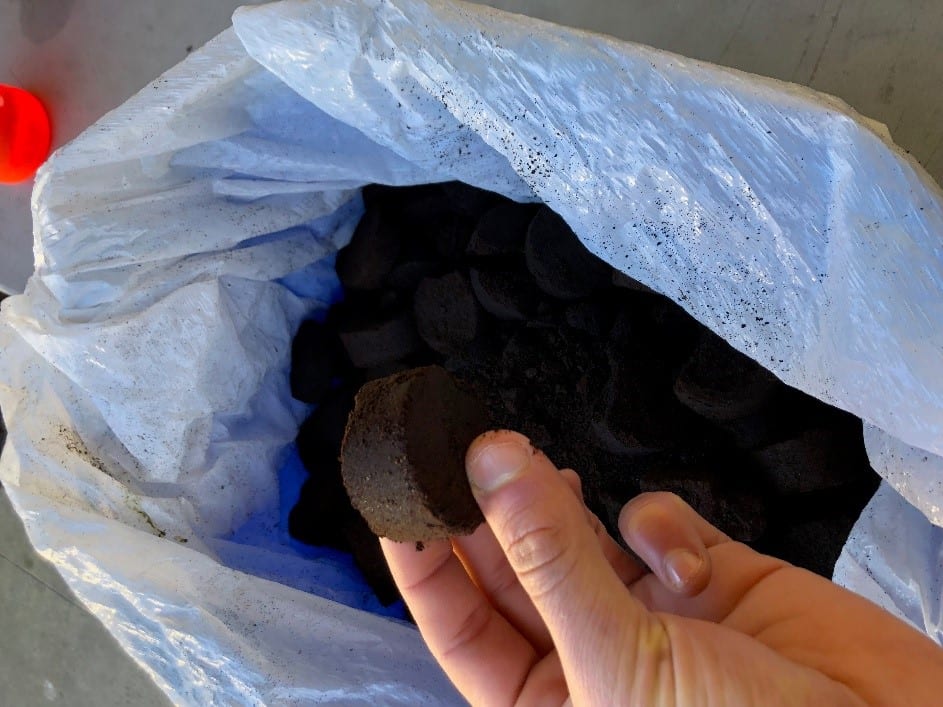
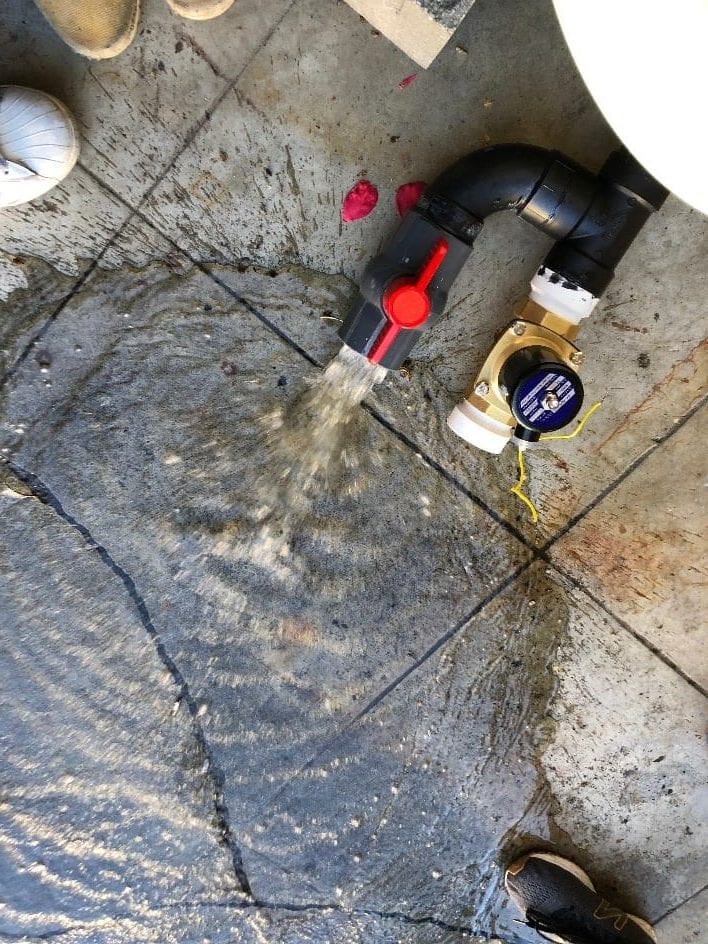
Test three: Mock fish waste test! YAY! A bucket of coffee grounds was acquired from a coffee shop to mimic the solid fish waste that will settle at the bottom of the barrel. We wanted to make sure that the valve would still open and close even with a thick sludge at the bottom of the tank. This also went on without a hitch. Below you can see the bucket of coffee grounds and the “dirty water” flowing freely from the actuated valve.
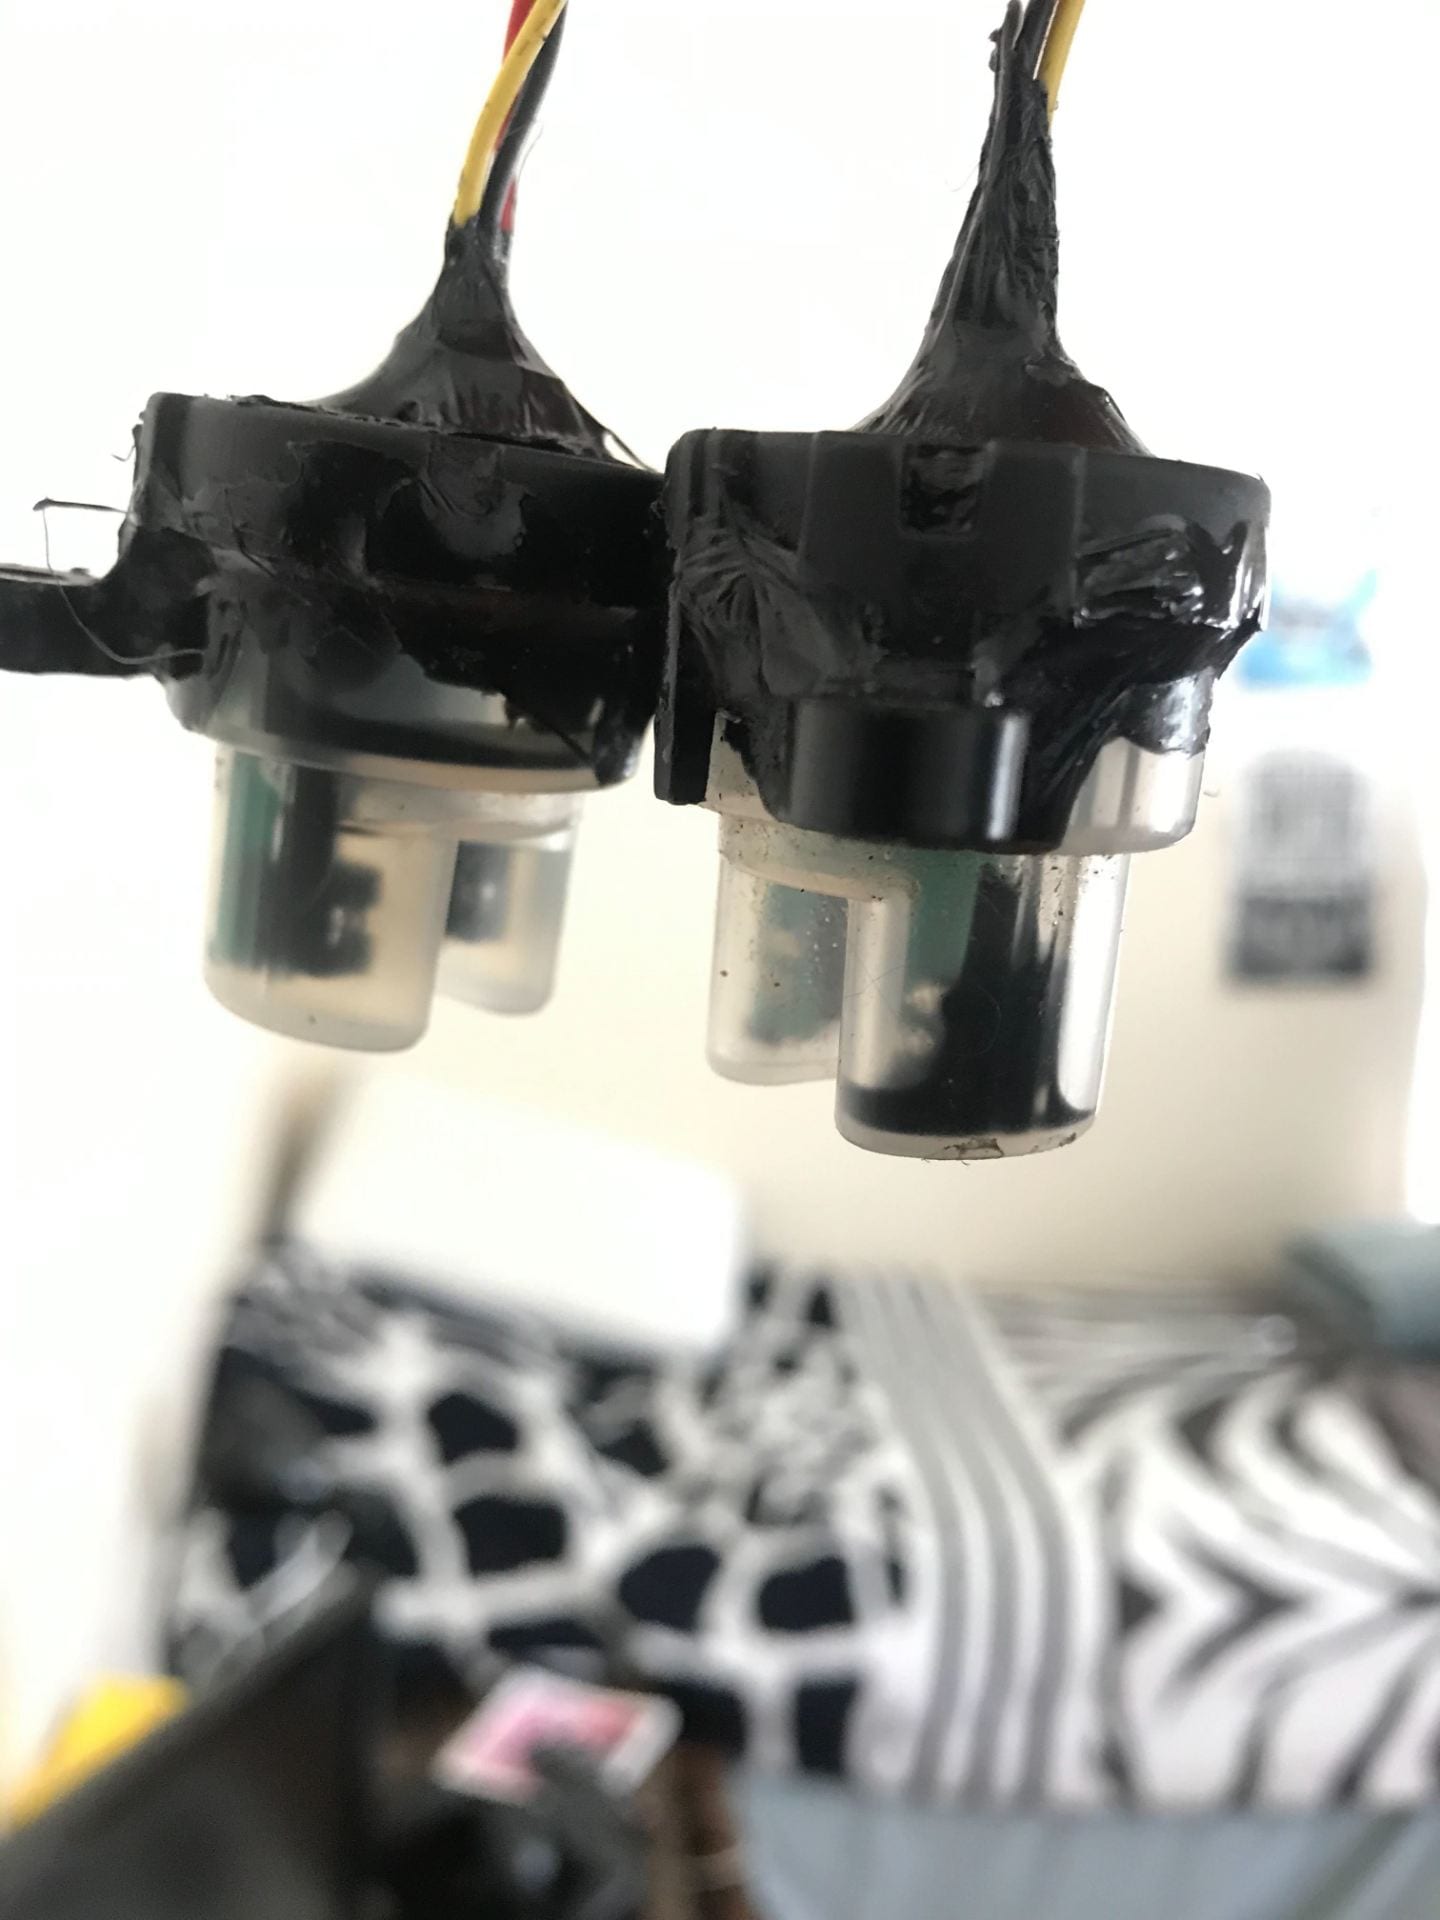
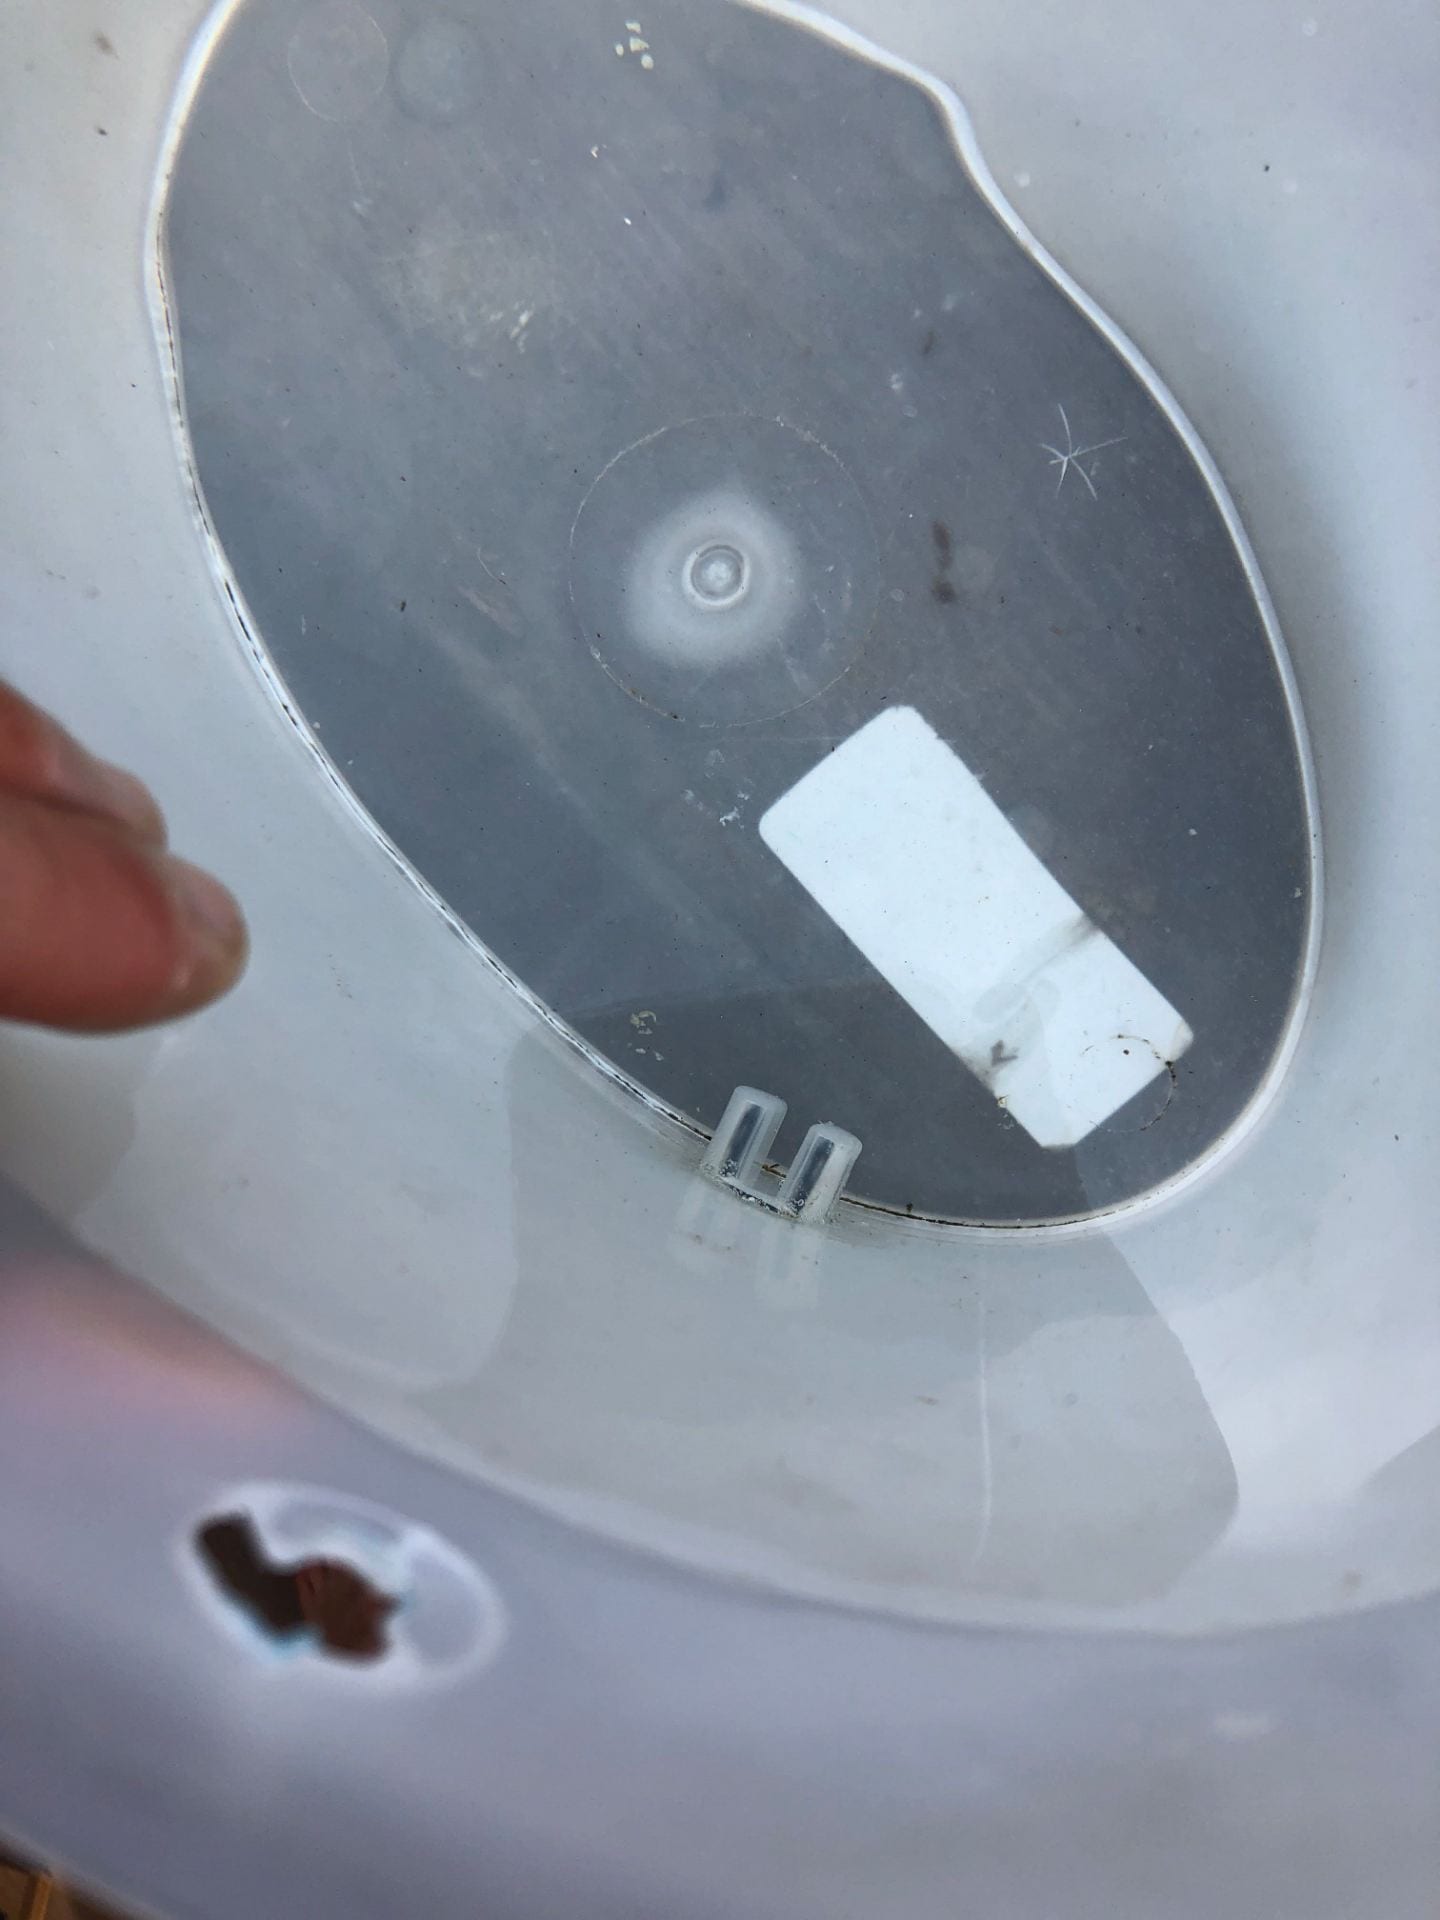
Test four: This is where we ran into some issues. The turbidity sensor, by design is not waterproof, except for the very tip. Our original work-around idea was to drill into the side of the barrel and place the sensors in with bolts and a seal. This was tested on a milk jug, and water poured out, even with the bolts tightened down. Next, we thought we could waterproof the entire sensor and have them completely submerged. We attempted waterproofing the entire sensor with PVC epoxy, however, the first attempt leaked and the second filled with glue. Glad we tested this one ahead of time! Below is a picture of both failed attempts at waterproofing the sensor.
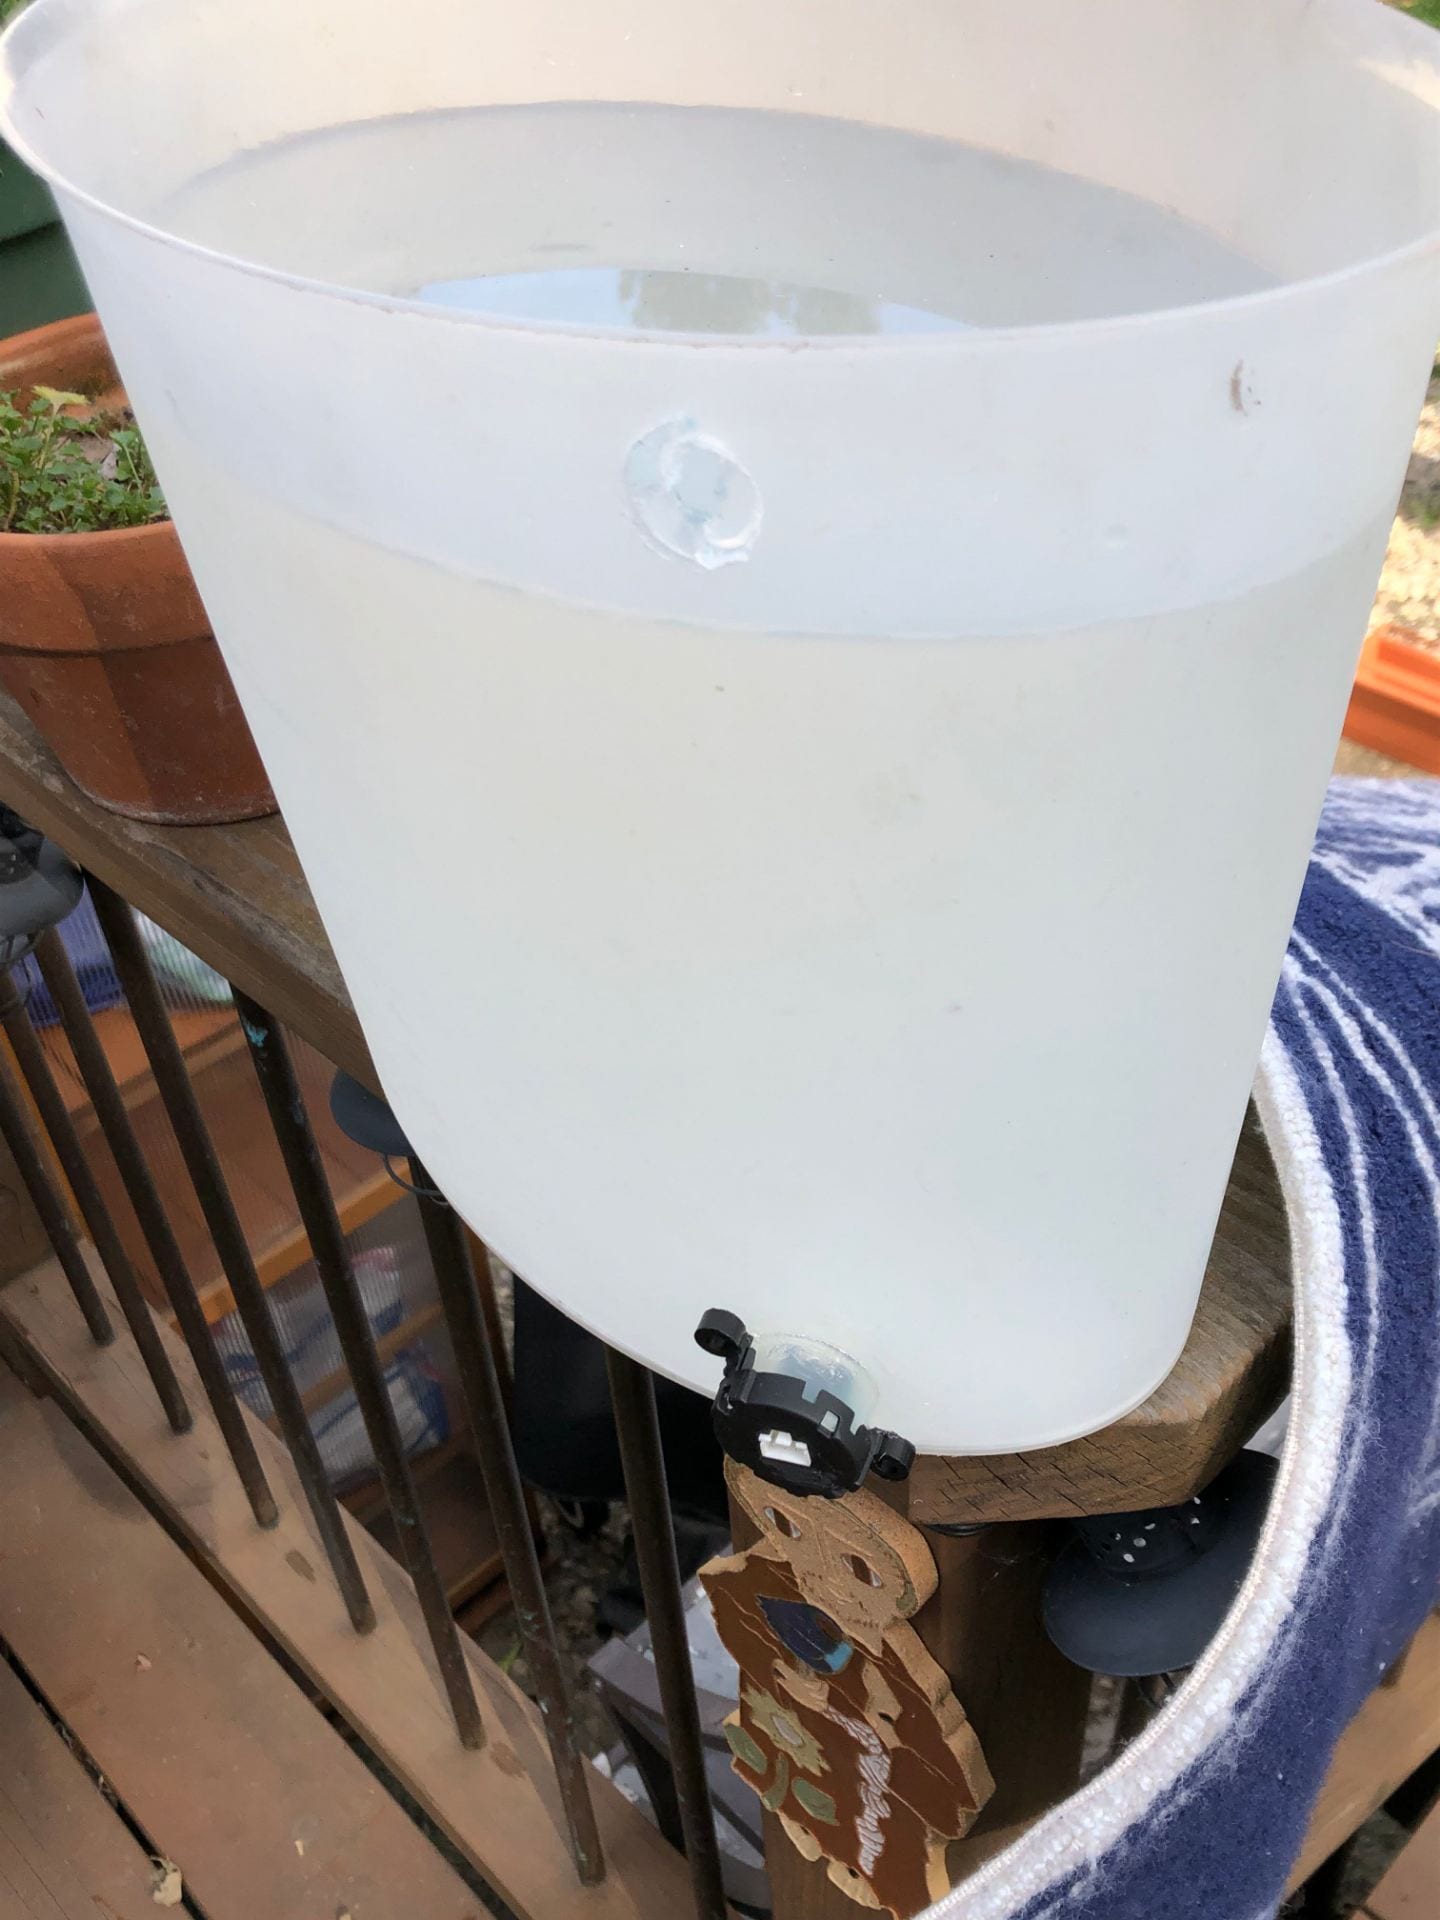
Test five: Back to the original idea. Two sensors down, we decided to go with the original idea of placing the sensor in the side of the barrel. We used a flexible glue, and did not use the two bolt fixtures on the sides of the sensors. We thought that the more we drill into the barrel, the more room for leaks. A hole was cut in the side of a plastic bucket, and the tip of the sensor was glued in place….AND IT WORKED! No leaks. We will use a much stronger plastic cement when doing this to the 55-gallon barrel, but it is great news that there weren’t any leaks even with the improper glue. Below is a picture of the sensor glued in place with the water in the tub.
Next Steps
After this round of thorough testing we can begin final construction and installation of new waste container at the garden! This coming week we will place the sensors in the barrel and test to make sure the seal is in fact, water proof. Once we have determined this, we can finalize the code with real data from the sensors. Then the tank can be installed at the garden! We also plan to include a swirl filter, which will help the waste accumulate at the bottom, which can be installed at the garden as well.